Great for dim sum AND Lunar New Years. Taro Cake 芋頭糕 is great all year round. The hardest part about taro cake is cutting the taro, but once that’s out of the way, cooking it is simple, tasty and quick! What normally would take twice the time to cook only takes 15 minutes in the pressure cooker. Want to bring out those yummy flavours? I highly recommend that you pan fry your ingredients first (or use the saute function on your instant pot). Happy eating 😀
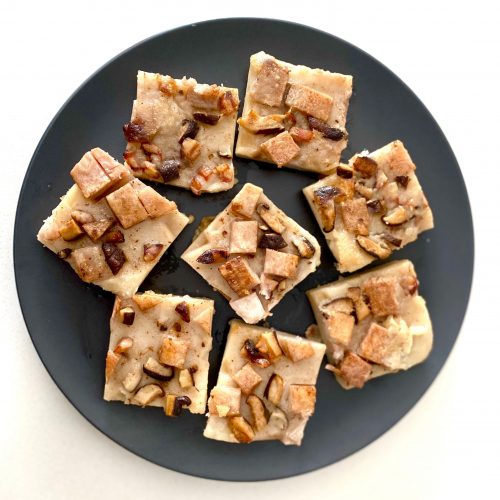
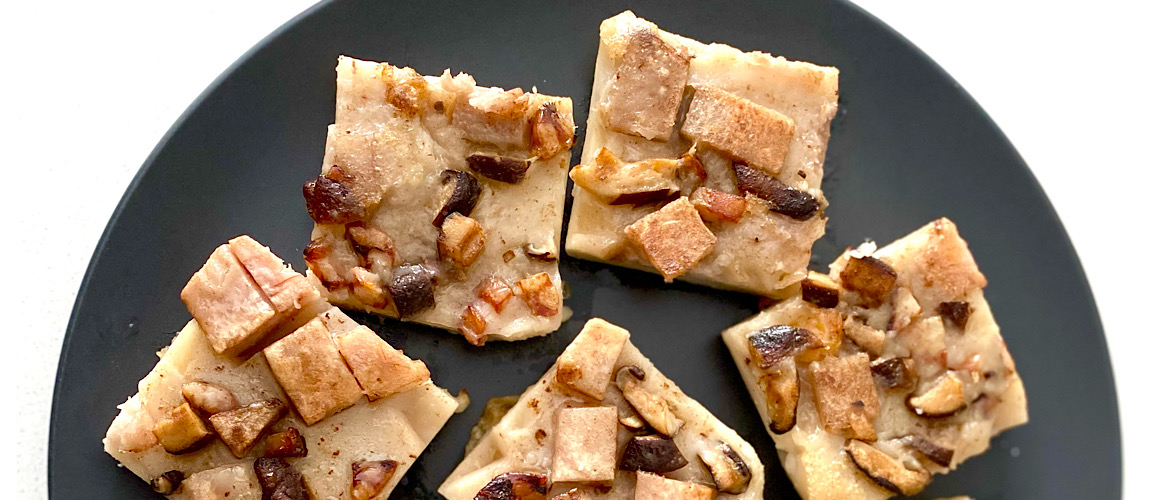
Taro Cake 芋頭糕
Chinese dim sum Taro Cake 芋頭糕
Ingredients
- ⅔ cups Taro 1/2" cubes
- 1 cup Rice Flour
- 1 ¾ cup Liquid/Water
- 1 Chinese Sausage diced
- 3 Shitake Mushrooms soaked and diced
- ¼ piece Chinese Pork Belly, 1/4" slices about 1/4 cup
- ¾ teaspoon Five Spice
- ¾ teaspoon Salt
Instructions
- (Optional) Pan fry / Saute in Instant Pot the Chinese sausage, pork belly. Add in the mushrooms, taro, 5 spice and 1/4 teaspoon of the salt. Remove into bowl.
- Mix rice flour, water and remaining salt.
- Add pan fried / sauteed ingredients to flour mixture and combine.
- Open Instant Pot. Place trivet and 1-1.5 cups of water, then tray of batter into Instant Pot liner.
- Close Instant Pot. Select Pressure Cook, high pressure cooking, for 15 minutes
- When done, quick release. Let Taro Cake 芋頭糕 sit for 10 minutes or until any excess water has soaked back into the taro cake.
Video
Notes
- Fits 1 Round Pan 6.5"-7" diameter and 2" high. Or you can use 2 Rectangle Pans 4"x6" and 2" high.
- If steaming from stove top, make sure the water is boiling, then steam on high for 45 minutes. This allows the taro to cook thoroughly
- Let the taro cake 芋頭糕 rest for 10 minutes when done.
- To pan fry, add some oil to pan and fry sliced cake on both sides. You can pan fry from your stove top or use the saute button from the Instant Pot.